Voxel Engine
The Development History of my Voxel Engine

Almost two years ago I decided to start working on a Voxel Engine – knowing almost nothing about voxel engines.
This is not a guide to voxel engines nor a tutorial about making one, it’s just the report of my experience from scratch to a fully working project.
I decided to go with jMonkeyEngine, as Java was the only language I knew two years ago and I didn’t want to start from raw LWJGL, and this engine was easy to use for me. Nothing excludes that the code can’t be ported to other languages, and it’s probably something I’ll do to learn new languages quickly. Maybe in the future I can port this engine to other languages or rewrite it using OpenGL with LWJGL.
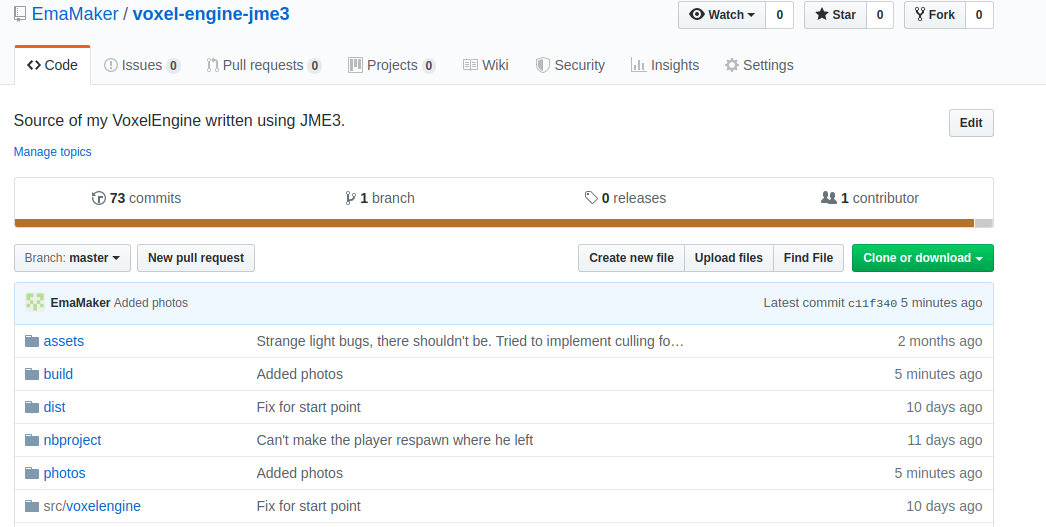
All my code is available on my GitHub profile: https://github.com/EmaMaker
Face Culling
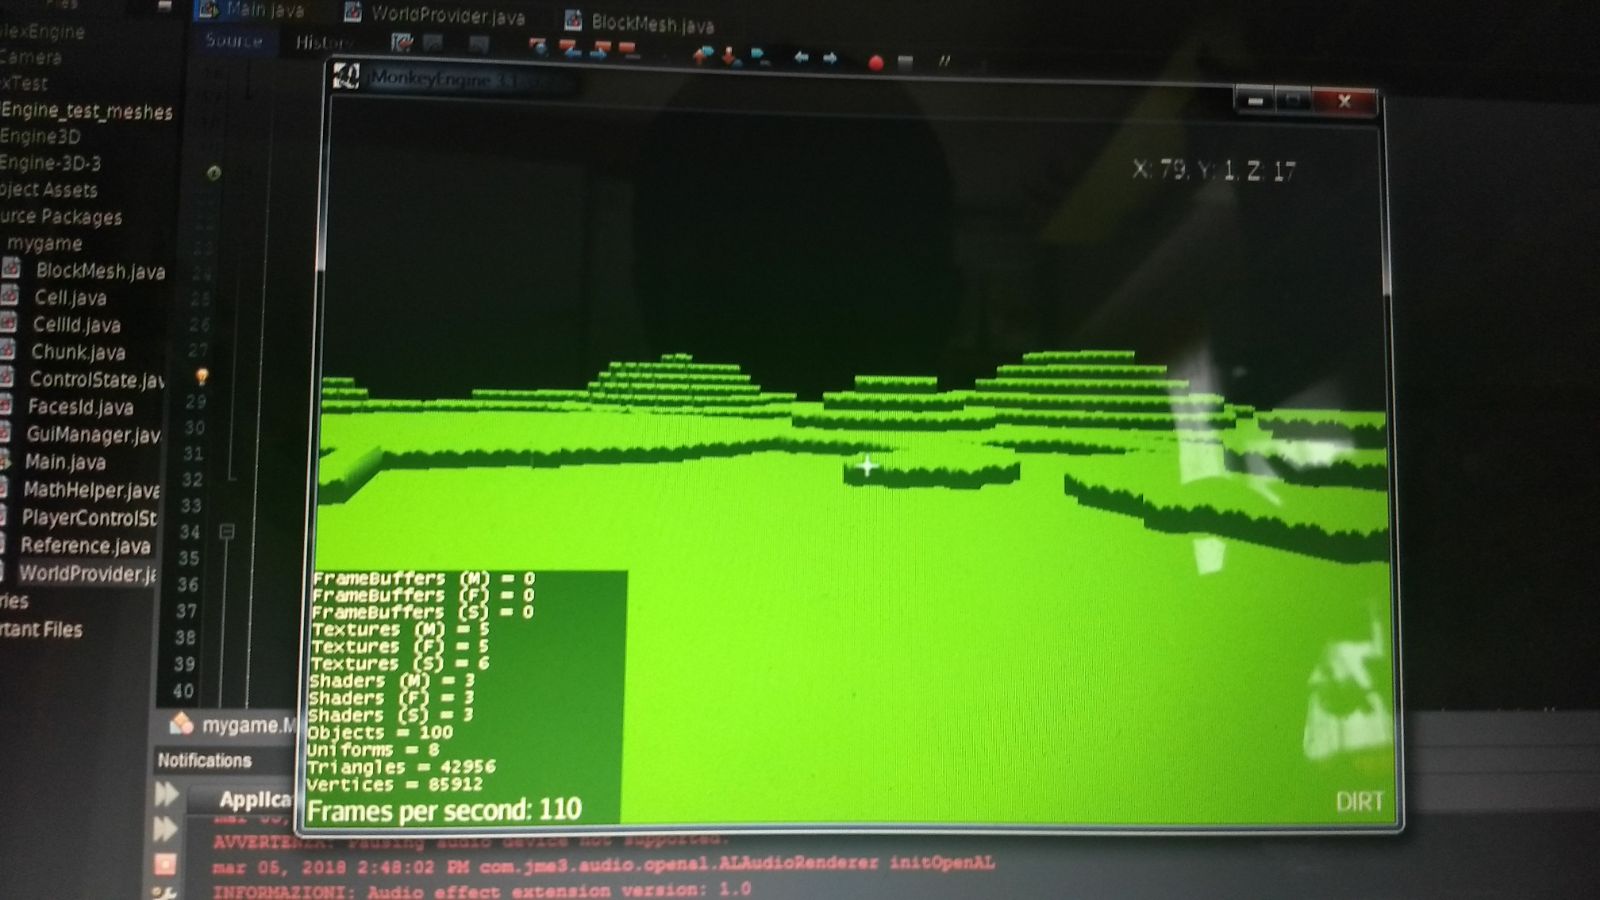
My first test worked using strange formula to have less cubes as position on the y axis increased and used full cubes with a yellow-purple texture to test the borders.
This is the first big error when making a voxel engine.
Even if you see a world made out of cubes, in reality there are any. All the “cubes” are made of simple quads that appear or disappear based on what you need. For example, if you have two adjacent cubes with each cube touching a single face of the other, both cubes will have a face that won’t be seen by the user, so the simplest thing to do is just not rendering them and save workload on the GPU. This method is called Face Culling. You can read more about rendering methods for voxel engines in this very interesting article by 0fps.
I spent some months working on a better version of this face culling algorithm, fixing and tweaking the RAM usage due to some bad-practices I’ve used during the first test.
This version was based on a Cell object, that kept note of the faces to show during rendering. Cells are grouped into Chunks, making the progressive world generation much easier.
Chunks store a three-dimensional array of Cells, while the entire World is stored in a three-dimensional array of Chunks. I kept this structure for all the development.
But there were still some problems with this: the Cell generated six different objects that had do be rendered separately on screen: it used too much RAM and was still too much for the GPU. Despite this, it run at 100fps on my Dell XPS M1330, which now is a 12-years-old laptop. But when it came to generate new parts of the world, the Java Garbage Collector started crying for all the mess it had to clean.
Greedy Meshing to overcome perfomance issues
Speaking with some folks in the jMonkeyEngine Forums, I got the advice to abandon the six-objects method I had been using, in favour of GreedyMeshing. As you can read from in the 0fps’ article, greedy meshing constructs a single mesh for the cubes faces with same texture that are next to each other. I didn’t really understand the Maths that 0fps did, as I’m still in high school and I haven’t studies most of the concepts he used yet, but I was successfull in writing my own. It’s quite dumb code, as it’s mostly made of if statements and while cycle with mostly no Maths in it, but it works well, and I’m happy with it.
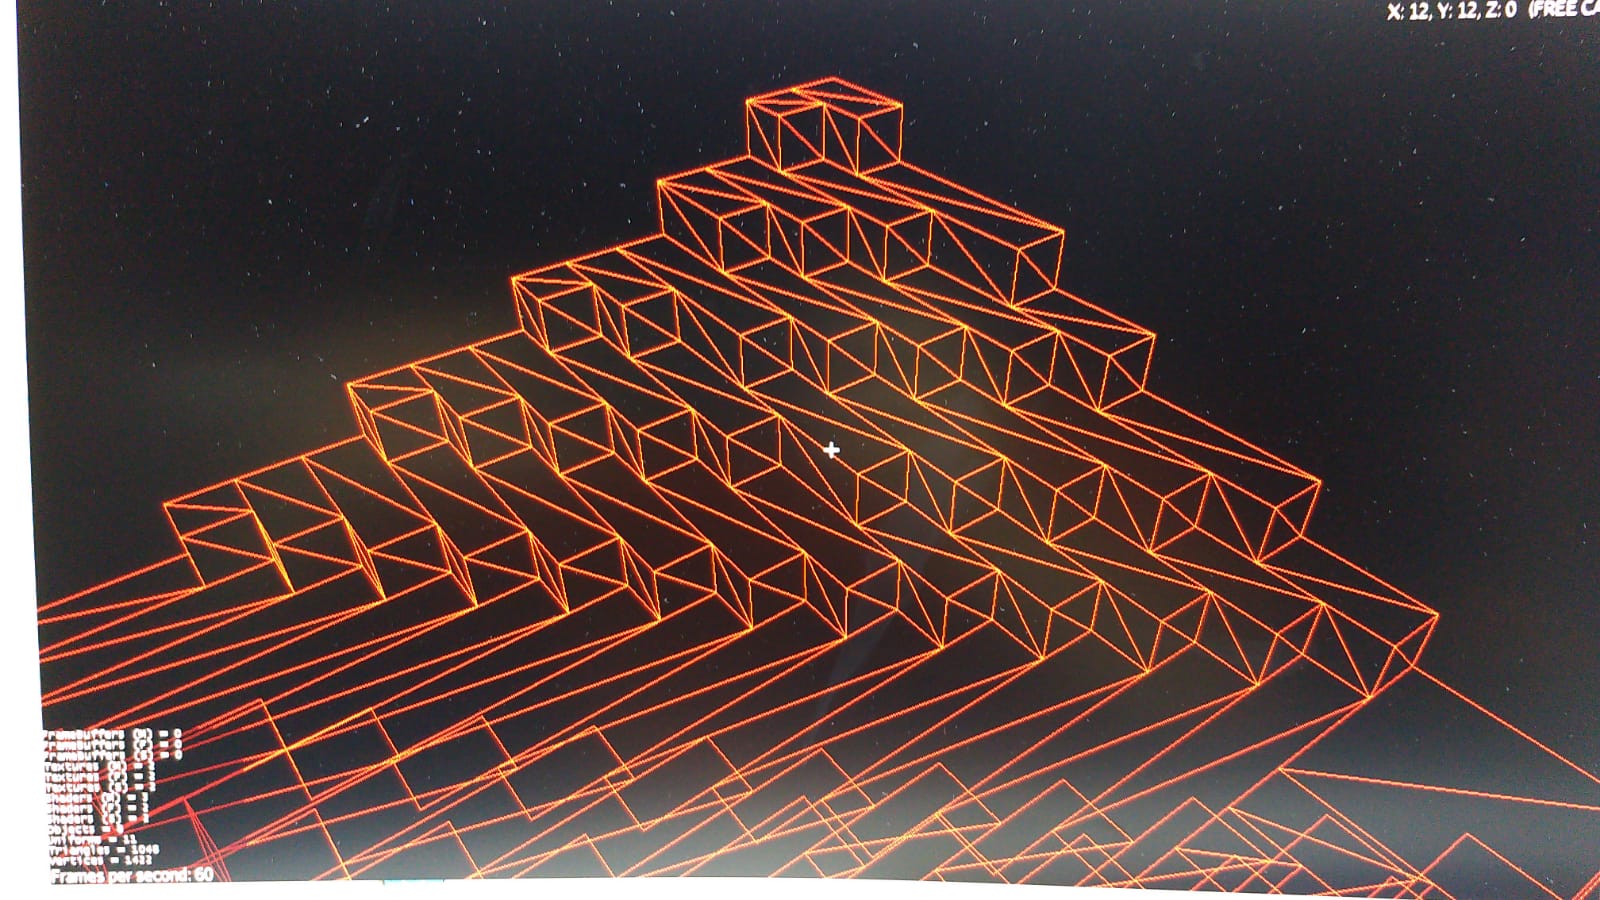
This is a wirefram of a chunk mesh generated with greedy meshing
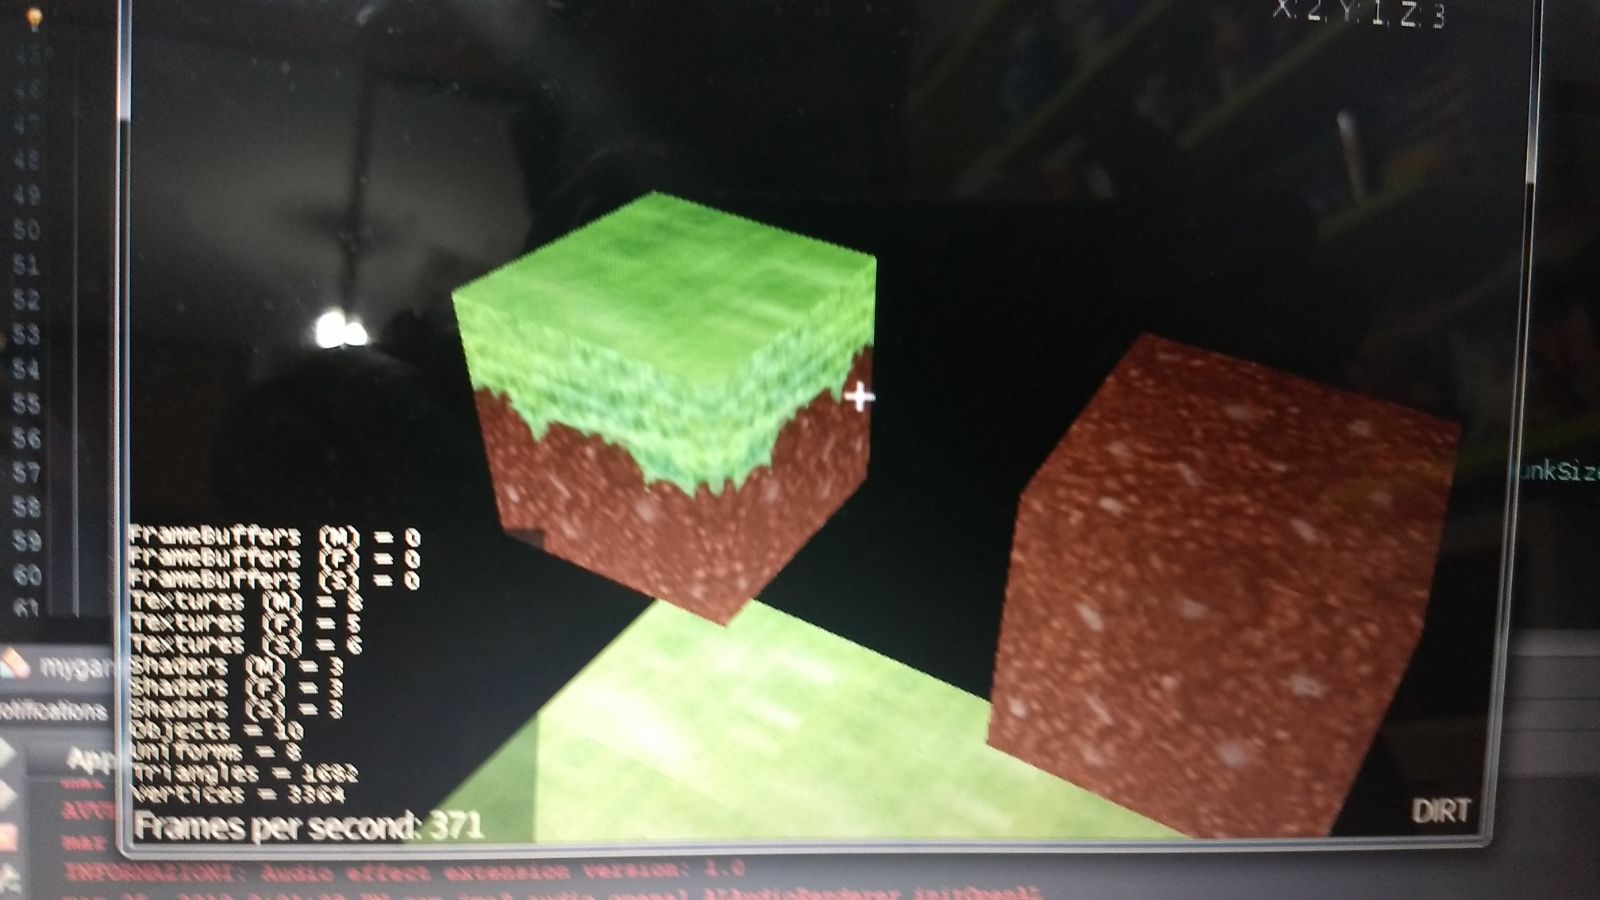
Smooth world generation using Simplex Noise
As I mentioned before, the early tests used a strange formula to generate less cubes on each layer as the position on the y-axis increased. This was abandoned in less than a couple of weeks, and I tried to have a smooth terrain generating ellipses starting for a center point, with the radius decreasing as the position on the position on the y-axis increased. But I started reading more and more about smooth pseudo-random terrain generation and I came across Perlin Noise, which sounded really interesting. I tried to implement Perlin Noise by myself, but after a couple of unsuccesfull tries, I found this Simplex Noise java implentation by SRombauts. Simplex Noise is computationally less expensive than Perlin Noise, which is can be really useful in this situation. I then adapted the Simplex Noise to my needs, added a couple of features for saving and loading the permutation table to and from file and the world generated was much more beatiful than before.
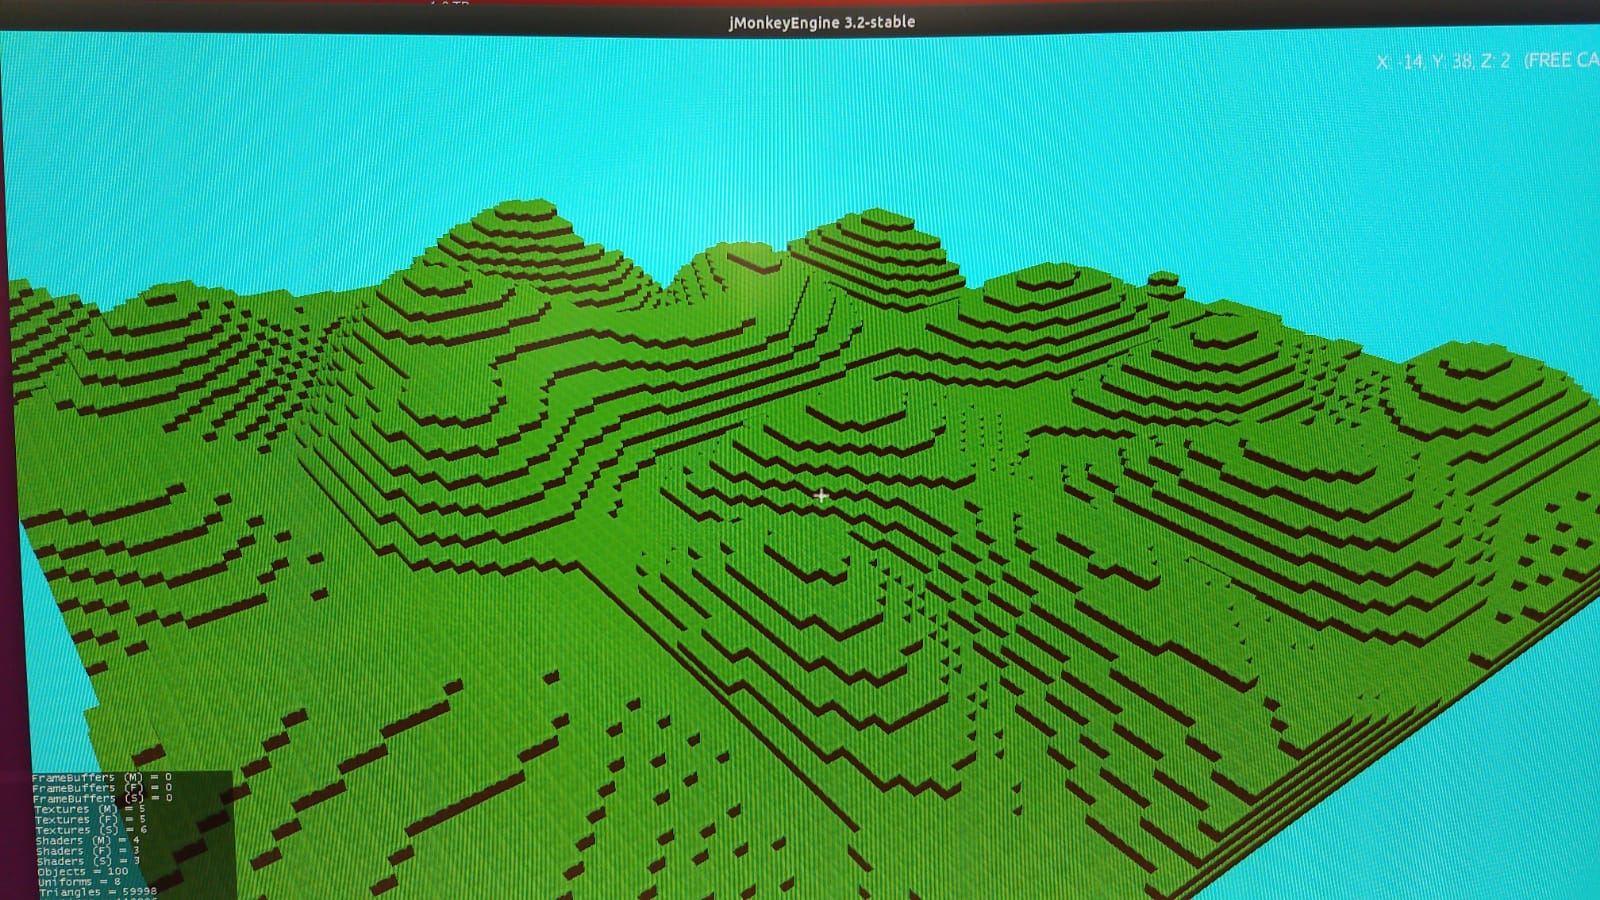
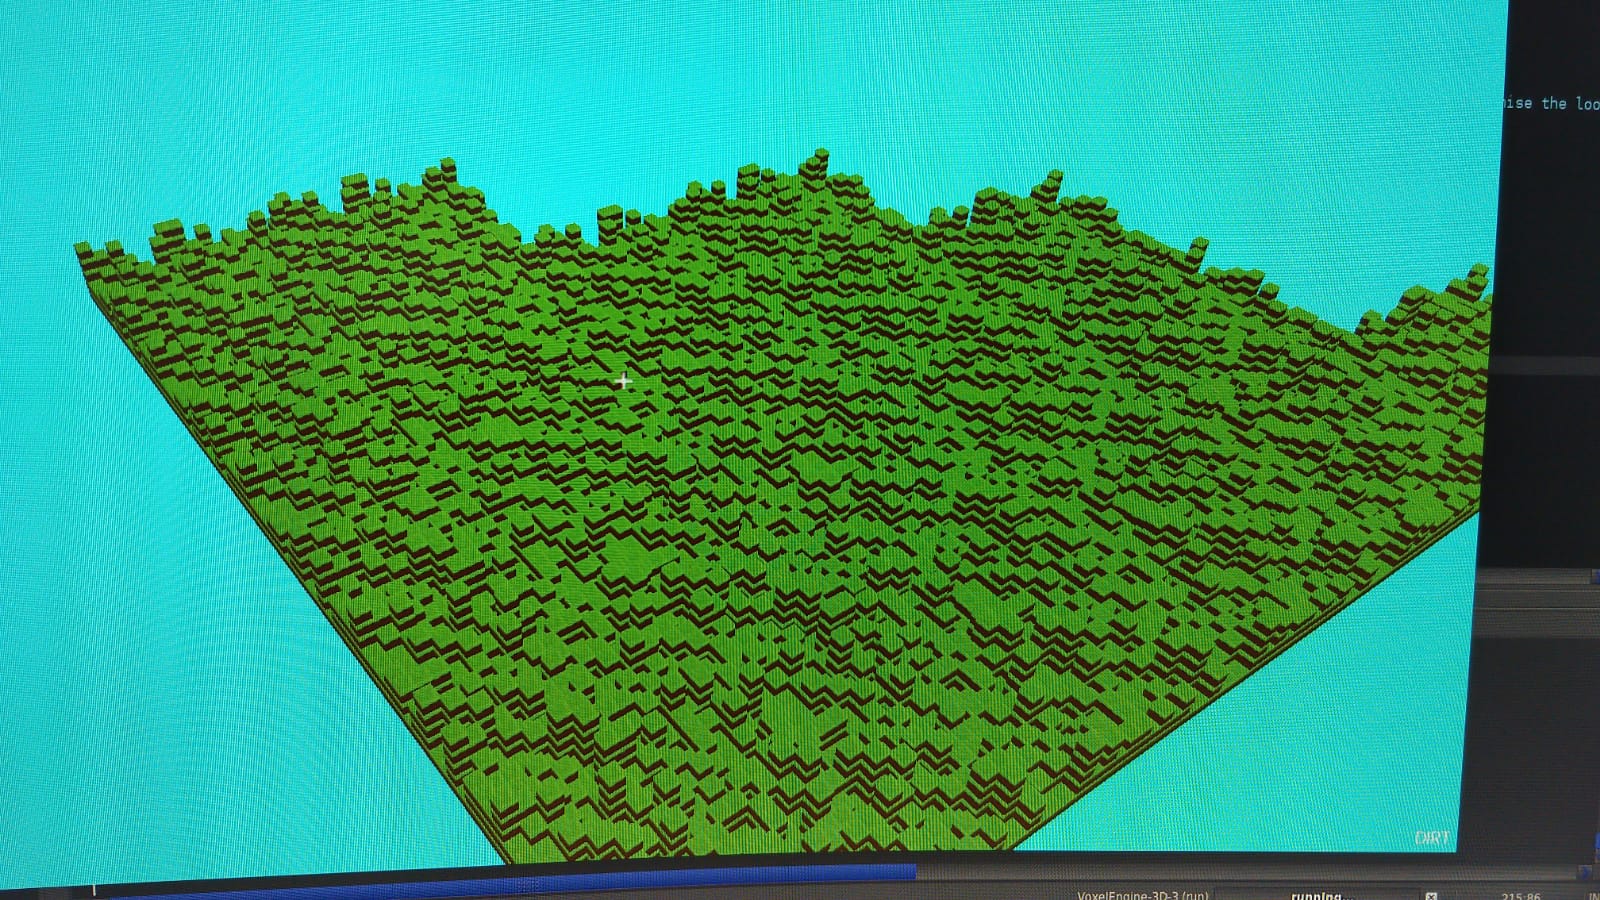
The first working test with Simplex Noise (left) and the first test ever with Simplex Noise (right)
At this point of the development, I decided to not use the Cell object anymore and replace them with simple integers inside the three-dimensional array. This saved up to 200MB of RAM when the player is still.
Saving and Loading from file
As I wanted to preserve the world when I closed the engine, I implemented a basic Chunk load/save system to save RAM by not keeping loaded Chunks that are very far apart from the player. This is also used to save the world when the game windows is closed and load it again when it’s reopened. The Chunks are saved in a plain text file, with each line corresponding to a single index of the 3d-array in the Chunk, with the x position, y position, z position and the id integer separated by spaces.
Along with the Chunks, also the Simplex Noise Permutation Table and the game settings are saved.
This system is absolutely bad, saving lots of Chunks requires even gigabytes of space on the disk, which is really insane.

MultiThreading, Block Picking and Customization.
Greedy Meshing and Loading Chunks from files require some time, which depends on the CPU and disk speed of the Computer. To remove this delay, which blocked the entire Main Thread of the game, I decided to load and generate Chunks in a separated thread, which doesn’t affect the main one. This makes the engine really smooth to run and the Chunks generating in front of you is really nice.
Implementing Block Picking alongside with MultiThreading was an hard time. jMonkeyEngine allows you to modify the scene only in the main thread, but I used to generate new Chunks in a secondary one. To solve this problem, I had to make the secondary thread only prepare the data for the chunk mesh, that the main thread uses to generate and show it.
Having the main features completed, it was time to implement some secondary ones. At first, during the making of the engine, I noticed I needed some way to make it more flexible to test different situations. So, I implemented lots of functions to do this: toggling debug messages, wireframe, test functions, changing the method used to generate the world, changing the size of the Chunks and of the world, adding new block types with just a couple of functions. This makes the engine way more flexible, also for other people, to use.
Conclusion
At this point, I can declare my Voxel Engine completely working, and I’m really happy with it. During those years of development (I have to specify that I abandoned the development even for months during this time), I learned lots of new things about games and programming in general which helped me becoming a better coder.
You can see all the history of the development on the github repo.
But my learing journey isn’t finished yet, I still have tons of new things to learn.